Spatchcock Chicken on the Grill with Panzanella and Cherries
Wow! More than four years since my last post, shame on me. I’ve had ‘Get a new post up on the website’ on my to-do …
I like food, sometimes I take pictures, sometimes I don't…
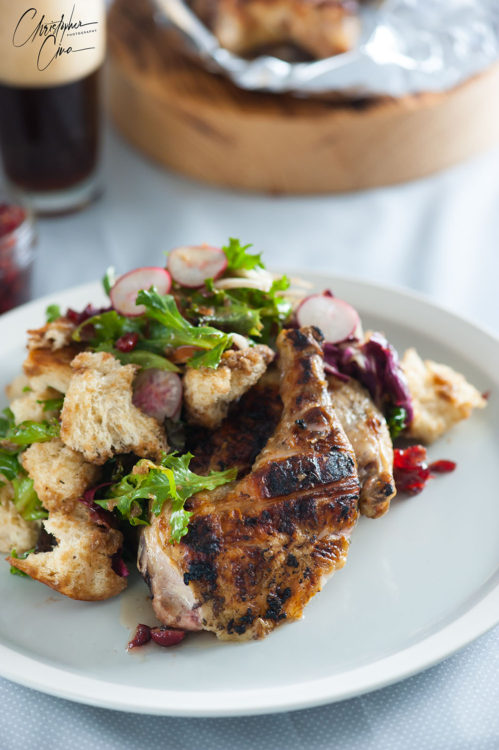
Wow! More than four years since my last post, shame on me. I’ve had ‘Get a new post up on the website’ on my to-do …
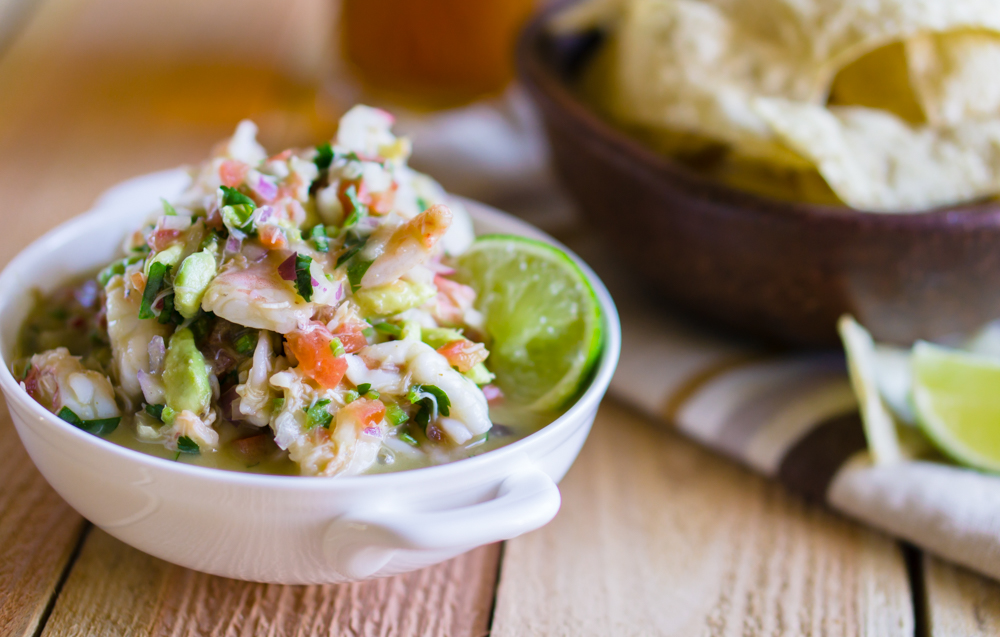
The big game is right around the corner. Not that I have any skin in the game (I’m an Eagles fan), but being based in …
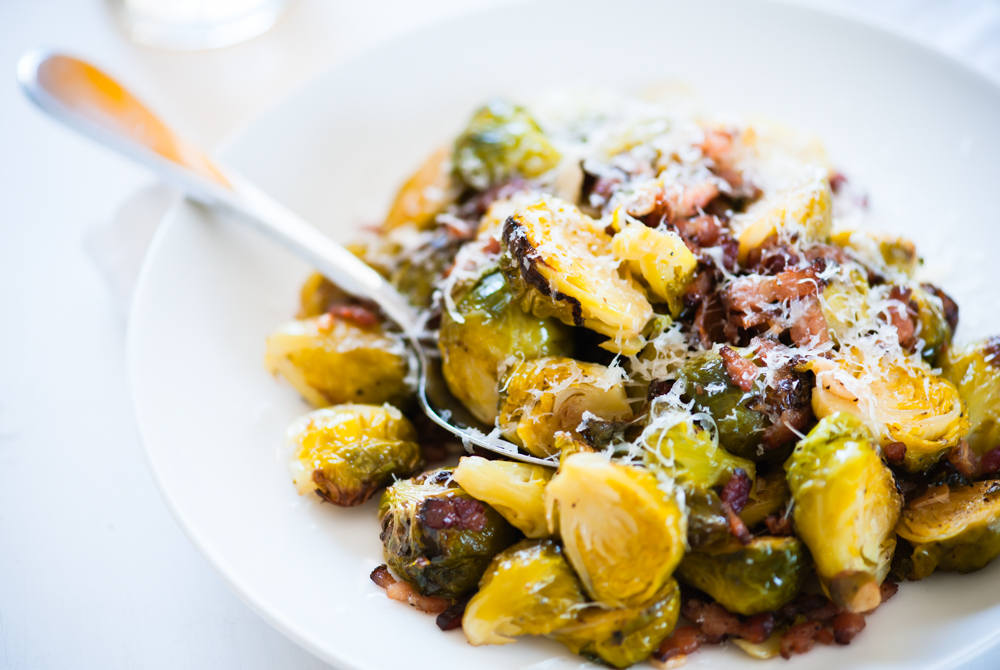
Lately, I’ve been doing a ton of recipes featuring beer, go figure… this one features the popular and trendy Brussels Sprouts. And although many of the trends …

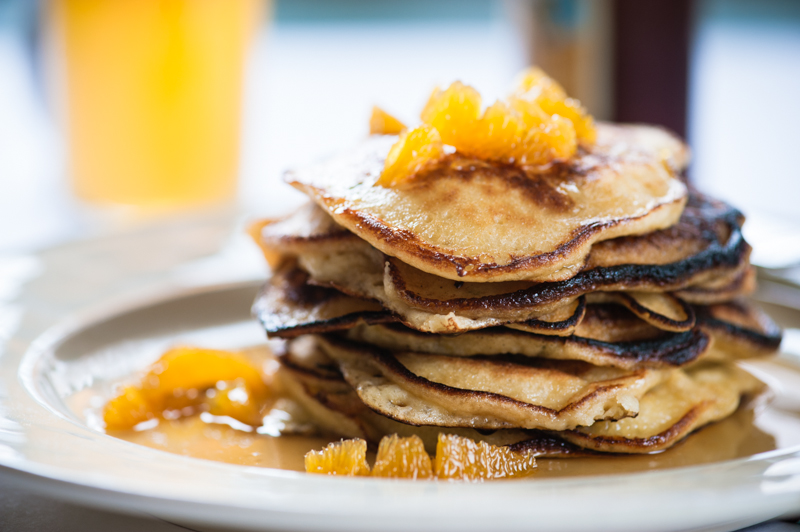
Kitchen time…I miss it sometimes, unfortunately I don’t get to spend as much time there as I would like. But then there are those few …
Ever since culinary school, one of my dream jobs was to be the chef at a winery, the bigger the winery, the better. I’d live …